macOS Harness Tutorial 2026 — Give Your AI Agent Full Control of a Mac With Six Primitives
Introduction
The gap between “an AI agent that writes code” and “an AI agent that does things on my computer” has always been bridged by fragile scaffolding — screenshots piped to a vision model, brittle coordinate guessing, per-app tooling that breaks the moment an app updates. macOS Harness from the browser-use team is an attempt to make that bridge as thin as possible.
The pitch, from the README:
“The simplest, thinnest harness that gives an LLM complete freedom to complete virtually any task on a Mac. The agent writes what is missing, mid-task. No framework, no recipes, no rails. One Python process connected directly to macOS, your real browser, and your files.”
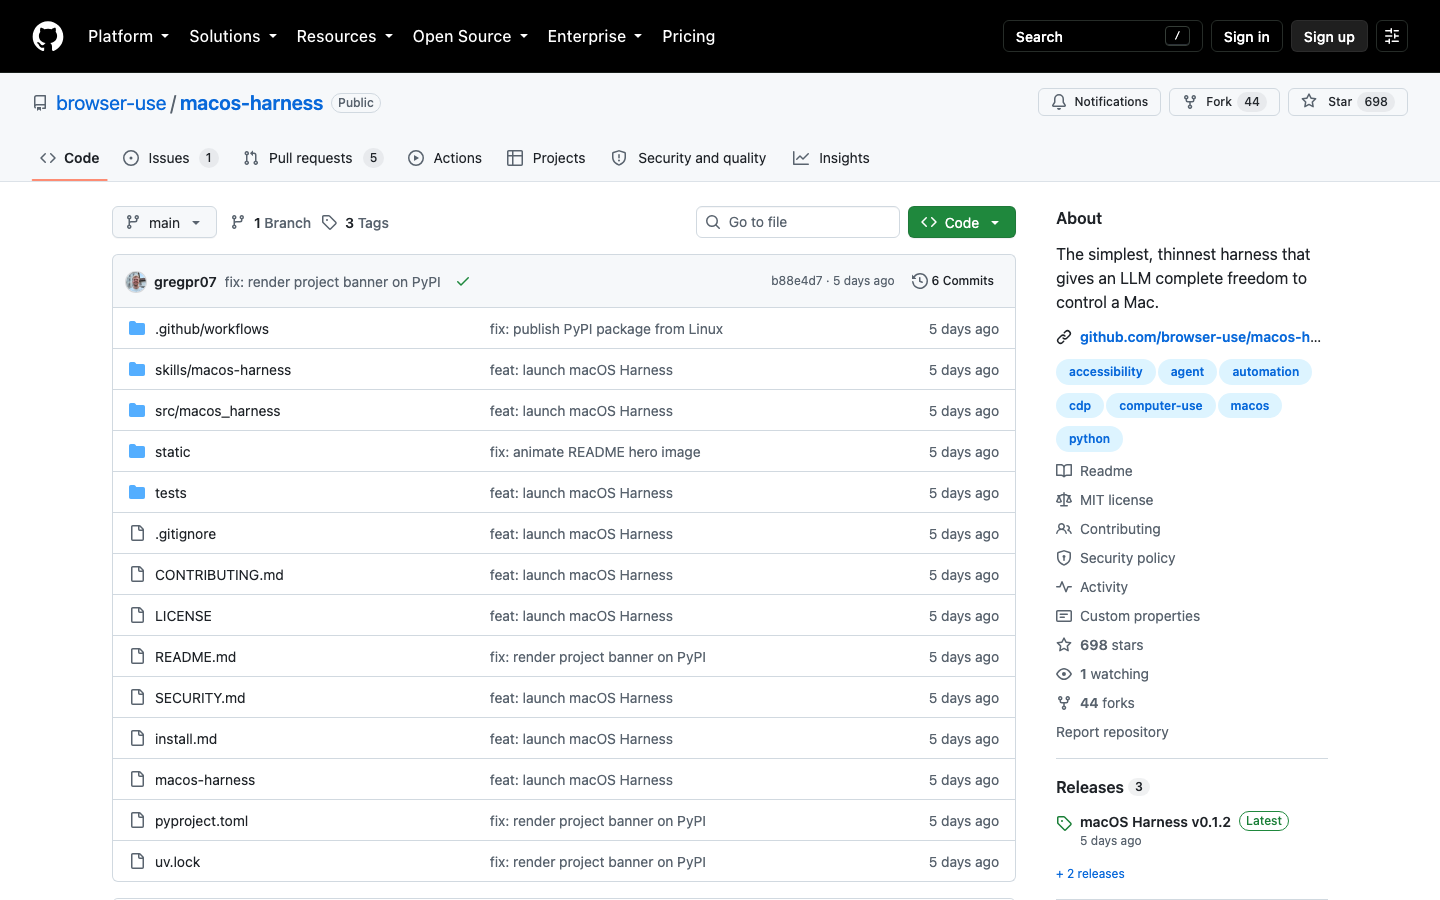
It hit 698 stars within its first week on GitHub (trending in Python), and the design is genuinely different from the “agent framework” approach: instead of shipping a hundred app-specific tools, it gives the model six raw primitives and lets the agent write the rest in ordinary Python.
What you’ll end up with: an LLM (via Codex or Claude Code) that can look at any app’s window, press keys, type, click at coordinates, read the accessibility tree, run AppleScript, drive your real logged-in Chrome, and touch the filesystem — all from one persistent Python process.
What macOS Harness Is (and Isn’t)
It’s a Python package (Python 3.12, installed with uv) that exposes a harness object with six primitives:
macos-harness <<'PY'
frame = mac.see("Spotify")
mac.key("cmd+k", app="Spotify")
mac.type("Alessia Cara", app="Spotify")
mac.click(640, 420, app="Spotify")

item = mac.ax.at(640, 420, app="Spotify")
mac.script('tell application "Spotify" to play')

print(browser.page_info())
print(list(Path.home().iterdir()))
PYsee— capture a window’s frame (CGWindow screenshot) without bringing it to the foregroundkey— send keyboard input to a specific app PIDtype— type text into an appclick— click at coordinates inside an appax— read/write the Apple Accessibility tree at a pointscript— run raw AppleScript/Apple Events
Plus three escape hatches in the same process: browser (real logged-in Chrome via CDP), Path (filesystem), and subprocess (shell).
It is not a framework with a plugin registry, not a recipe library, and not a sandboxed VM. It’s a direct pipe from the model to macOS system APIs. That’s the power and the risk.
Step 1: The One-Line Agent Install
The intended install path is delightfully meta: you paste a prompt into Codex or Claude Code, and the agent installs the harness itself.
Install or upgrade macOS Harness from https://github.com/browser-use/macos-harness
with uv using Python 3.12. Register the skill printed by `macos-harness skill`,
then run `macos-harness doctor`. Explain any missing macOS permissions and ask
before requesting them. Finally, verify the harness by capturing one already-running
app without bringing it to the foreground.
The agent will:
- Install the package with
uv - Register the skill (
macos-harness skillprints a skill definition the agent can adopt) - Run
macos-harness doctorto check permissions - Verify by capturing a background app’s window
Manual setup is documented in install.md if you’d rather not hand your terminal to an agent on day one.
Step 2: Understand the Permissions
This is the part you must not skip. The harness touches three macOS permission domains:
| Permission | What it enables | Why the harness needs it |
|---|---|---|
| Screen Recording | mac.see() window captures | Reading pixels of any app’s window |
| Accessibility | mac.ax, mac.key, mac.type, mac.click | Injecting input and reading UI trees |
| Automation (Apple Events) | mac.script() | Controlling apps like System Events |
macos-harness doctor reports exactly which permissions are missing — run it and grant what it flags. The design constraints are worth noting: the harness never activates or raises a target app and never moves the physical pointer. It draws an animated, click-through pointer overlay instead, so you can watch what it’s doing without your real cursor being hijacked.
Step 3: The Six Primitives in Practice
see — vision without focus
frame = mac.see("Spotify")Captures the window contents of an app that may be in the background — CGWindow screenshots, no foregrounding. This is what lets an agent “look” at apps it isn’t actively using.
key / type — input by PID
mac.key("cmd+k", app="Spotify")
mac.type("Alessia Cara", app="Spotify")
Keyboard and text input are sent directly to the target app’s PID, not to whatever happens to be focused. The Spotify example opens the search box (cmd+k), types a query, and then:
click — coordinate input
mac.click(640, 420, app="Spotify")Coordinate clicks within a specific app’s window. Pair this with see for the classic screenshot → vision → click loop.
ax — the accessibility tree
item = mac.ax.at(640, 420, app="Spotify")When vision isn’t enough, read the actual UI element at a point — its role, label, and value. This is how the harness gets reliable state instead of pixel-guessing. Apple Accessibility and Apple Events are exposed raw when needed.
script — AppleScript escape hatch
mac.script('tell application "Spotify" to play')Anything with an AppleScript dictionary (Spotify, Music, System Events, most of macOS) is directly scriptable. This is the most deterministic primitive — no coordinates, no OCR, just the app’s own automation interface.
Step 4: A Real Walkthrough — Automating Spotify
Putting it together, here’s a complete session that searches and plays a track, then verifies state:
import macos_harness as mac

# 1. Look at the current state
frame = mac.see("Spotify")
print(frame)

# 2. Open search and type a query
mac.key("cmd+k", app="Spotify")
mac.type("Alessia Cara", app="Spotify")

# 3. Click the first result (coordinates from the frame capture)
mac.click(640, 420, app="Spotify")

# 4. Verify via the accessibility tree
item = mac.ax.at(640, 420, app="Spotify")
print(item.role, item.label)

# 5. Deterministic control via Apple Events
mac.script('tell application "Spotify" to play')
The key workflow insight: use ax and script for verification, use see and click for navigation. The accessibility tree gives you ground truth; the screenshot gives you spatial context. The agent writes whatever glue is missing — that’s the “no recipes” philosophy.
Step 5: Browser and Filesystem in the Same Process
Because the harness is one persistent Python process, the agent can mix GUI control with the browser and the shell:
print(browser.page_info())          # real logged-in Chrome via CDP
print(list(Path.home().iterdir()))  # filesystem access
That means a single task can: open your email client, read an attachment from ~/Downloads, navigate your real Chrome session to a web form, fill it via browser, and submit — with no app-specific tools written by anyone.
Privacy, Telemetry, and the Trade-Offs
Anonymous telemetry is enabled by default. It records only: CLI command category, success/failure, duration, package version, OS/architecture, and the detected agent client. It never records prompts, app names, screenshots, UI text, scripts, paths, or window titles. If you don’t want it:
macos-harness telemetry disableThe bigger trade-off is architectural: the harness runs with your user’s permissions. An agent with a hallucination or a malicious prompt could mac.script anything your account can do. Mitigations in the design: the click-through pointer means you always see what it’s targeting, doctor surfaces permissions explicitly, and you control which agent client drives it. But this is not a sandbox — treat it like giving someone a remote desktop session with your credentials.
Limitations
- macOS only, and experimental — Linux/Windows are explicitly out of scope
- Requires Python 3.12 + uv — the one-line install assumes the agent can handle that
- Accessibility coverage varies — apps with sparse AX trees (some Electron apps, games) fall back to coordinate guessing
- Coordinate fragility —
clickat hardcoded coordinates breaks when window layouts change; theax-first pattern mitigates this - Single-process model — long-running tasks need the one process to stay alive; there’s no distributed or multi-agent story yet
FAQ
Is this safe to run with my real Chrome?
The harness connects to your real, logged-in browser via CDP — the same mechanism browser-use’s original project uses. That’s the point (logged-in sessions work), but it means browser actions are not sandboxed. Use it with agents you trust.
Does it move my physical mouse?
No. It draws an animated click-through pointer overlay and sends input directly to app PIDs. Your physical cursor stays put.
What does macos-harness doctor check?
It reports which macOS permissions (Screen Recording, Accessibility, Automation) are missing for the harness to work, so you can grant them explicitly rather than discovering failures mid-task.
Can I use it with tools other than Codex and Claude Code?
The skill registration (macos-harness skill) is designed for any agent that can install a Python package and adopt a skill definition. The harness itself is just a Python API — anything that can run Python can drive it.
Is the telemetry really anonymous?
Per the README: it records only CLI category, success, duration, package version, OS/arch, and agent client — never prompts, app names, screenshots, UI text, scripts, paths, or window titles. And it’s one command to disable.
Conclusion
macOS Harness is the rare automation tool that gets out of its own way. Six primitives, one process, no per-app plugins — the model writes whatever’s missing. For anyone who’s watched an agent framework collapse under the weight of its own abstractions, this is a refreshing counterweight: raw see, key, type, click, ax, script against real macOS APIs, with your real browser and files within reach.
Start with the one-line install into Codex or Claude Code, run doctor, and verify with a background-window capture. The permission model is the one thing to respect — this is a direct pipe to your Mac, so keep it pointed at tasks you’d hand to a trusted remote operator.